
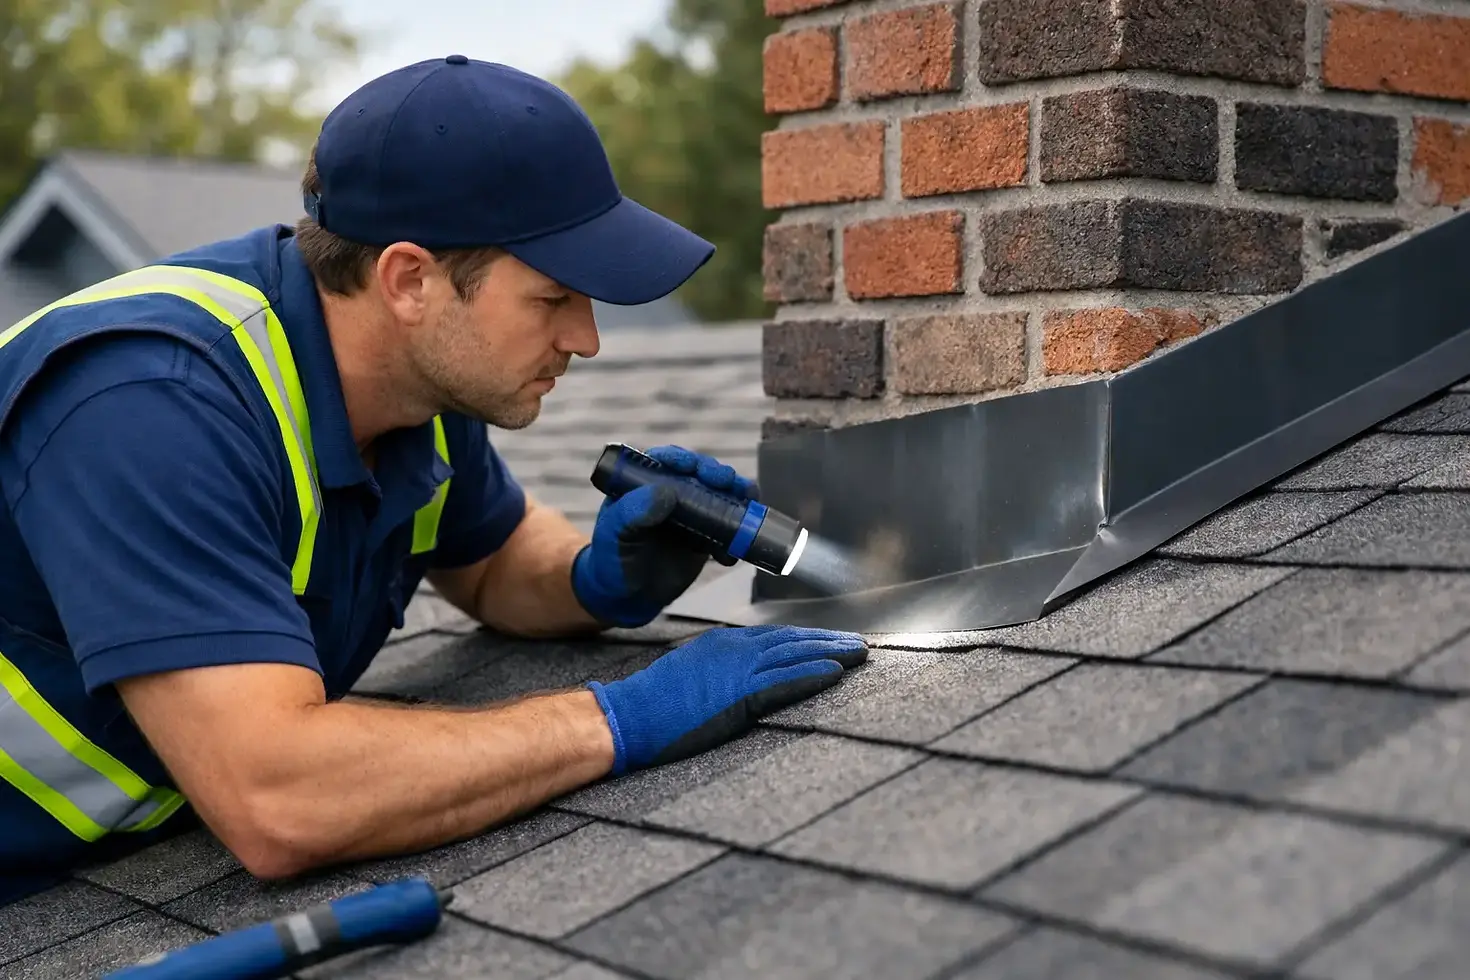
How to Inspect Chimney Flashing Safely
A small gap in chimney flashing can turn into a much bigger problem after one Illinois winter. Water gets in quietly, then freeze-thaw cycles do the rest - staining ceilings, rotting roof decking, and loosening masonry around the chimney. That is why homeowners should know how to inspect chimney flashing before a minor defect becomes an expensive repair.
Chimney flashing is the metal system that seals the joint where the chimney meets the roof. When it is installed properly, it directs water away from that vulnerable seam. When it starts to fail, the warning signs often show up indoors first, long before the damage is fully visible from the ground.
For homeowners in Arlington Heights and the Northwest Suburbs, flashing problems are especially common on older brick homes. Seasonal temperature swings, heavy rain, snow load, and repeated freeze-thaw movement can all stress metal joints and masonry connections over time. A careful inspection helps you catch those issues early.
What chimney flashing does
Most chimney flashing is made up of more than one piece. Base flashing sits against the roof, and counter flashing is embedded into the mortar joints or attached to the chimney surface to cover the top edge of the base flashing. Some chimneys also have step flashing woven into the shingles along the sides.
That layered approach matters. If one section is missing, loose, rusted, or sealed incorrectly, water can bypass the system and work its way into the house. In many cases, the flashing itself is not the only issue. Deteriorated mortar joints, cracked crowns, and shifting brick can all affect how well the flashing performs.
How to inspect chimney flashing from the ground
The safest place to start is from the ground with a good pair of binoculars. Walk around the home and look at the chimney from multiple angles. You are not trying to diagnose every detail from below. You are looking for obvious signs that something is off.
Pay attention to metal that appears lifted, bent, or separated from the chimney. Rust streaks, exposed sealant, or pieces that look patched with roofing tar are also red flags. Tar can temporarily slow a leak, but it is not a proper long-term flashing repair. If you see black mastic smeared around the base of the chimney, there is a good chance someone treated the symptom instead of fixing the source.
Also look at the brickwork around the flashing line. Missing mortar, cracked joints, and spalled brick can create gaps where water enters behind the metal. On homes in this area, masonry movement and winter moisture damage often go hand in hand with flashing failure.
How to inspect chimney flashing closer up
If you can view the chimney safely from a secure ladder position without stepping onto a steep or wet roof, you may be able to get a closer look. Homeowner safety comes first. If the roof is high, the pitch is steep, or the surface is slick, this is where a professional inspection makes more sense.
From a closer vantage point, check whether the flashing lies tight against both the roof and the chimney. Counter flashing should overlap the base flashing, not stop short of it. Look for loose edges, open seams, corrosion, and nails driven where they should not be. Exposed fasteners can become leak points.
Sealant deserves a close look too. A small amount of high-quality sealant may be part of a repair, but heavy beads of caulk around the entire chimney base usually suggest a patch. Caulk dries out, shrinks, and cracks. Proper chimney flashing relies on correctly lapped metal and a sound masonry connection, not sealant alone.
Interior signs that help you inspect chimney flashing issues
Sometimes the clearest clues are inside the home. If you are trying to understand how to inspect chimney flashing thoroughly, do not stop at the roofline. Check the attic and the rooms around the chimney as well.
Water stains on ceilings or walls near the chimney are common warning signs. Peeling paint, damp insulation in the attic, musty odors, and discoloration around trim can all point to flashing leaks. In some homes, moisture appears in the firebox or on the interior brick, though that can also be tied to other chimney defects.
The timing of the leak matters. If water shows up mainly after wind-driven rain or during snowmelt, flashing is a strong suspect. If the problem appears in every storm, the issue may be more advanced or involve multiple entry points.
What a proper flashing system should look like
A well-built flashing system looks neat, fitted, and intentional. The metal should be firmly secured, with clean overlaps and no visible gaps at the chimney-to-roof transition. Counter flashing should be inserted into mortar joints when appropriate, not just face-nailed and smeared with caulk.
The surrounding shingles should also lie flat and integrate cleanly with the flashing pieces. If shingles are curling, broken, or worn out around the chimney, the leak may involve both roofing and flashing materials. That is one reason inspections should consider the entire roof intersection, not just the metal itself.
Copper and galvanized steel are common flashing materials. Copper tends to last longer, but proper installation matters more than material alone. Even premium metal will fail early if it is installed loosely, tied into deteriorated mortar, or patched repeatedly instead of replaced when needed.
Common problems homeowners find
The most common flashing issues are not always dramatic. Often, it is a gradual separation caused by age, weather, and movement between the roof and masonry. In the Chicago suburbs, winter expansion and contraction put extra stress on these joints.
Rust is another frequent problem, especially on older galvanized flashing. Once corrosion starts, pinholes and weak spots can let water through. Loose counter flashing, cracked mortar at the reglet line, and failed sealant joints are also typical findings.
Improper previous repairs deserve special attention. We often see chimney bases coated in roofing cement or caulk because it was the fastest short-term fix. Those materials can hide the real condition underneath while allowing water damage to continue.
When chimney flashing needs repair versus replacement
It depends on what the inspection reveals. If the flashing is fundamentally sound and only a small section has loosened, a targeted repair may be enough. That could include resetting counter flashing, replacing isolated sections, or correcting the masonry joint where the flashing is anchored.
If the metal is rusted through, the overlap is poorly designed, or the chimney masonry is breaking down around the flashing, replacement is usually the better investment. Repeated patching can cost more over time and still leave the home vulnerable to hidden water damage.
This is where specialized chimney and masonry experience matters. Flashing performance is tied directly to the condition of the surrounding brick and mortar. A roofing-only fix may not last if the chimney itself is compromised.
When to call a professional
If you spot staining indoors, loose metal, deteriorated mortar near the roofline, or signs of a recurring leak, it is time for a professional inspection. The same applies if your chimney is tall, the roof is difficult to access, or you are seeing multiple symptoms at once.
A qualified chimney and masonry specialist can determine whether the issue is isolated to flashing or tied to broader chimney deterioration. That matters because the right repair protects more than the roof. It helps preserve the chimney structure, interior finishes, and long-term safety of the home.
For homeowners who want dependable answers instead of guesswork, a company with both chimney expertise and masonry repair experience can offer a more complete evaluation. That is especially valuable on older brick homes across Arlington Heights, Palatine, Schaumburg, and surrounding communities where flashing problems often overlap with mortar wear and weather-related masonry damage.
A smart inspection routine for Illinois homes
Most homeowners do not need to inspect flashing every month. A visual check in spring and fall is usually enough, along with an extra look after major storms or ice events. If your chimney is older or has leaked before, more frequent checks are worth the effort.
You should also pay attention any time you schedule chimney cleaning, fireplace service, or masonry repairs. These are natural opportunities to have the roofline and flashing reviewed by a trained eye. At Liberty Fireplace & Masonry, that kind of inspection-minded approach helps homeowners catch trouble before water damage spreads.
A chimney does not need to be actively leaking to need attention. If the flashing looks patched, separated, or tied into crumbling mortar, the safest move is to address it early. A careful inspection today can prevent structural repairs tomorrow, which is exactly the kind of protection a well-kept home deserves.


Comments